
I’m an auto technician for over twenty-five years and I’ve been fitting vent shades for about as long. I’d say that’s pretty good evidence car owners think they are indeed worth it.
Vehicle vent shades are worth it, they offer many advantages, sleek styling, increase cabin comfort, greater security. Quality brands are easy to fit and offer the best overall vent shade ownership experience.
In this post, I’ll cover why I think vent shades are worth your money and effort. I’ll cover the two basic types and I’ll recommend the shade I’ve fitting for years and why.
One Good Reason To Fit Vent Shades
I’ve been fitting all types of auto accessories over the years and seen many come and go, vent shades have remained pretty much constant. I’ve noticed lately some automakers fit vent shades as standard, and you know they did a ton of market research before arriving at that decision. Spare wheel or vent visors? mmm….
Anyway, I can think of more than one good reason to fit them. Yea, the simple vent visor comes with a ton of advantages, but it’s not all freewheeling, there are a few downsides too.
Cabin Comfort
The obvious advantage is the comfort offered by vent visors. Occupants can now crack a window safe from wind buffeting the cabin or rain driving in. Cracking a window is a huge advantage if your car is prone to fogging up, and some vehicles just are.
Their HVAC systems just aren’t up to the job, especially if you have a car full of occupants or carrying a wet dog.
Other obvious advantages include removing stale air from the cabin, cigarette smoke, etc., or simply removing hot air from the interior without all the fuss.
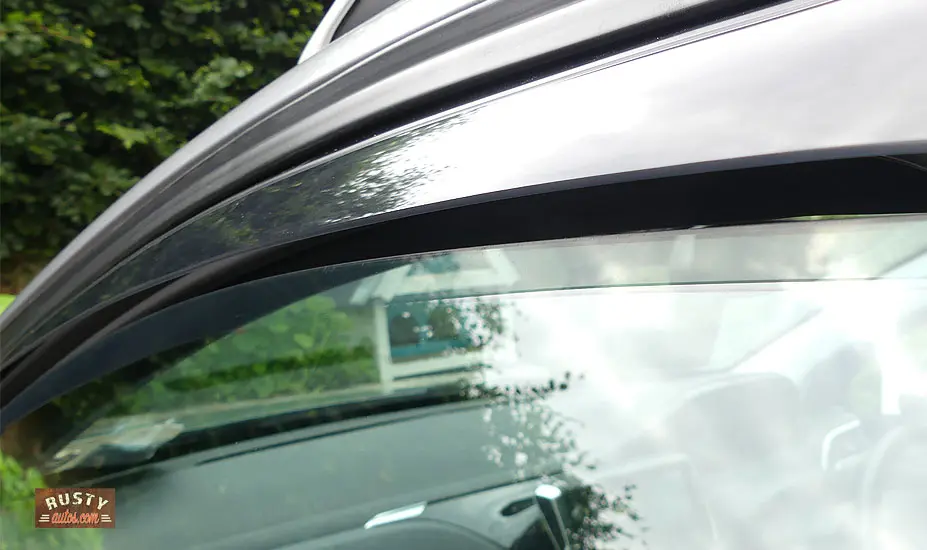
Vent Shade Styling
Many fit the vent visor because it looks good, and I agree. The sleek nature of even a basic black window shade changes the look of a vehicle. Of course, they’re available in many different types of shapes, materials, and colors, that’s all a matter of taste.
For me, I like the simple understated black low-profile visor, It is a classic and will always look good.
Cabin Security

If you like to return to a cool car but aren’t sure you should leave a window cracked. Fear not, black vent shades will easily disguise the fact the windows are cracked. This content is owned by moc.sotuaytsur. Even if they were spotted, the sleek low profile nature of vents won’t make easy access.
Types Of Vent Shades
There are a ton of different styles of vent shade, however, there are only two basic types. The out of the channel (or stick on type) and the in the channel. Both have advantages and disadvantages, and I can definitely recommend one over the other.
Out of channel

The out-of-channel, or self-adhesive type is easier to fit but easy to get wrong also. And if you do, it’s difficult to put right. The out of channel type as their name suggests, stick to the vehicle’s door frame, outside the window channel. As with any task, fitting the out-of-channel shades successfully will require following a few basic procedures. I cover the process below in more detail.
Some of the disadvantages of being out of channel include the following:
- Can be tricky to align
- One chance fitting
- Don’t look as sleek
- Can be a source of wind noise
- Removing can be difficult
- Can mark paintwork when removed
Advantages to out of channel:
- Fast fit
- Least expensive
In Channel


The in-channel is as you’ve guessed, fit inside the window channel or frame. This is more work but I think worth it. I believe the in-channel is superior in look and performance. You can check out vent shade offers on the Amazon link below.
Amazon Vent ShadesYou may not get away from aligning sticky tape completely, some in channel also employ self-adhesive tape. But for the most part, you’ll find fitting these easy. I cover the whole process below.
Some of the disadvantages of in-channel window shades:
- Fitting more complex
- Takes longer to fit
- More expensive
Advantages to out of channel:
- More forgiving of mistakes when fitting
- Easily removed
- Better fit and finish
- Less wind noise
Fitting Vent Shades
For the most part, you won’t find this difficult. It won’t require many tools if any at all. Some vehicles may be more complex than others and by complex I mean they may also employ more than one type of fastener, clips, etc.
Fitting out of channel

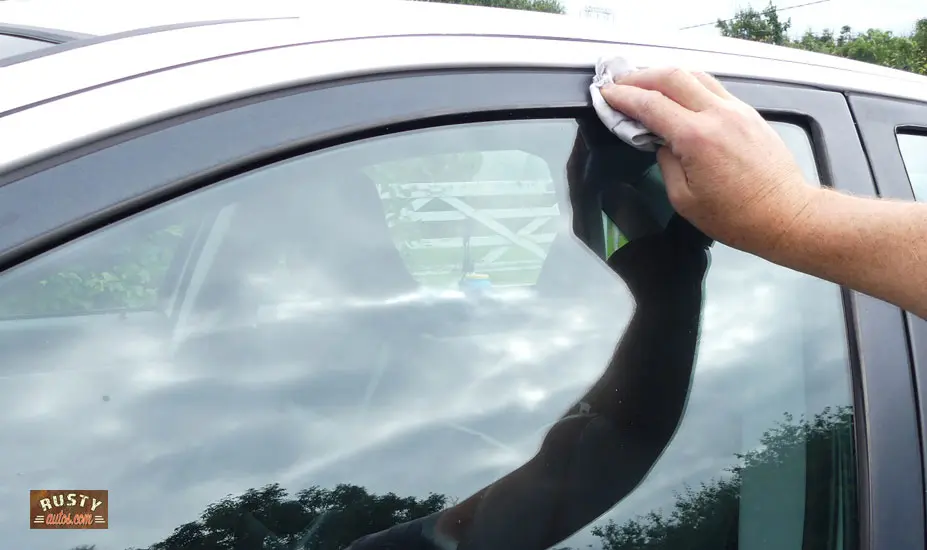
You already know the out-of-channel is a stick-on type. Meaning the shades come with a self-adhesive tape affixed. The process is therefore straightforward, but we’ll need to clean the contact patch. Car wax can cause problems when attempting to stick the shades on. We’ll need to clean the area first. A good kit will come with wax-busting alcohol wipes.
The whole process looks like this:
- Test fit the shades to each window
- Use tape to mark the start and end points (if you feel you need to)
- Using alcohol wipes, clean the adhesive contact area
- Test fit once again before removing 3″ of tape from one end only (fold the 3 ” adhesive backing upward)
- Stick that end and offer the shade to the frame, sighting and adjusting as needed
- Remove the remaining tape, (by pulling on the 3″ folded adhesive backing) and push firmly to secure as tape is removed
- Repeat on all doors
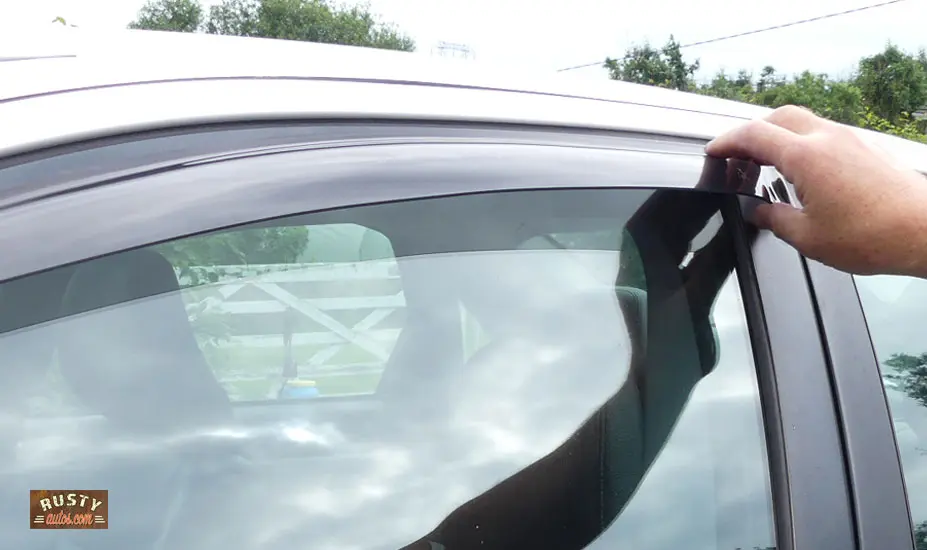
Fitting in channel

Fitting in channel shades requires little to no tools. A good kit will come with a universal tool that’s used to manipulate the weather stripping and also a measuring tool.
Read the instruction a couple of times and check the contents of the kit are all present and undamaged. Verify the kit is correct for your vehicle.
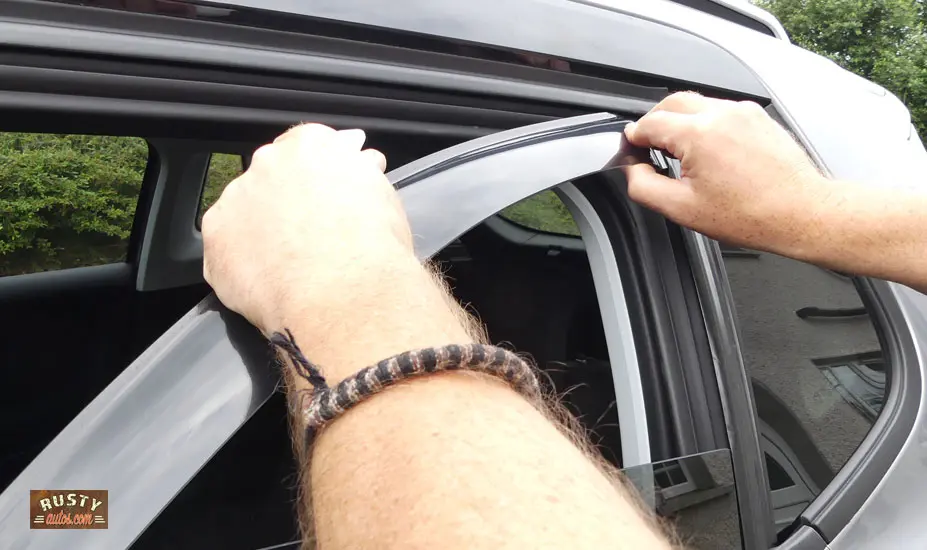
Fitting the in-channel shade entails fitting the shade lip into the window rail, open all windows before starting. Avoid fitting vent shades on a cold day, while they are flexible at normal temperatures, low temperature fitting risks cracking the shades, and the warranty won’t cover that. Shades are normally marked left and right or stamped L and R.
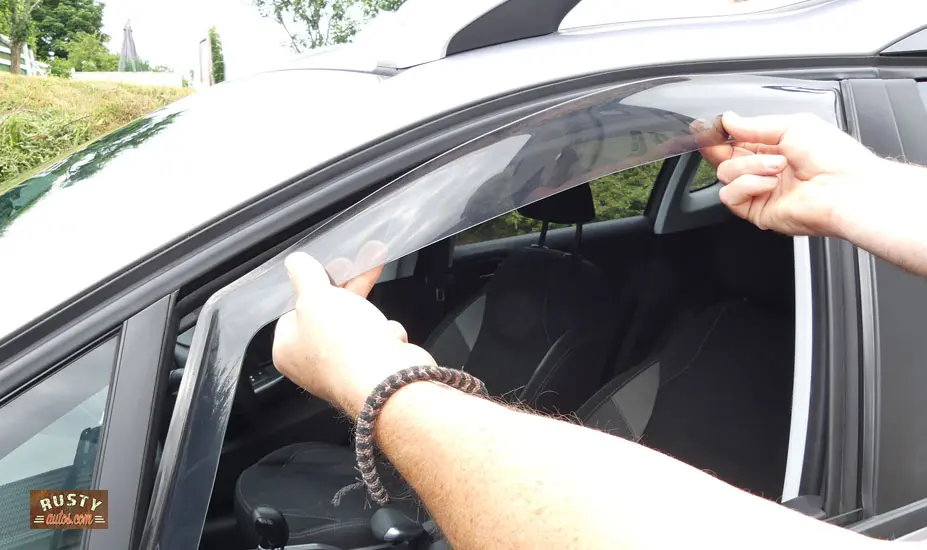
Starting on a front window, the process is as follows:
- Insert the shade lip into one side of the rail
- Bow the shade outwards and feed the other side into the window rail
- Using the included tool, feed the shade into the rail each side alternately
- Once in place, roll the window up and down to help seat the shade
- Repeat on the other side

Fitting the rear is usually a little different, the process looks like this:
- Using the included tool’s ruler, measure from each window edge approx. 3″
- Fit included clips to each measured location (use tool)
- Offer the rear shade to the window diagonally
- Insert the shade lip into one side of the window rail
- Place the other shade end into the rail and slide upwards
- Push home until it engages the clips
- Roll window up and down a few times to seat the shade
- Repeat on the other side
That’s it, you’re a pro!
You may find the following posts helpful:
Are Weathertech mats worth it?
Are Thule roof racks worth it?
- About the Author
- Latest Posts


John Cunningham is an Automotive Technician and writer on Rustyautos.com. He’s been a mechanic for over twenty-five years and has worked for GM, Volvo, Volkswagen, Land Rover, and Jaguar dealerships.
John uses his know-how and experience to write articles that help fellow gearheads with all aspects of vehicle ownership, including maintenance, repair, and troubleshooting.