
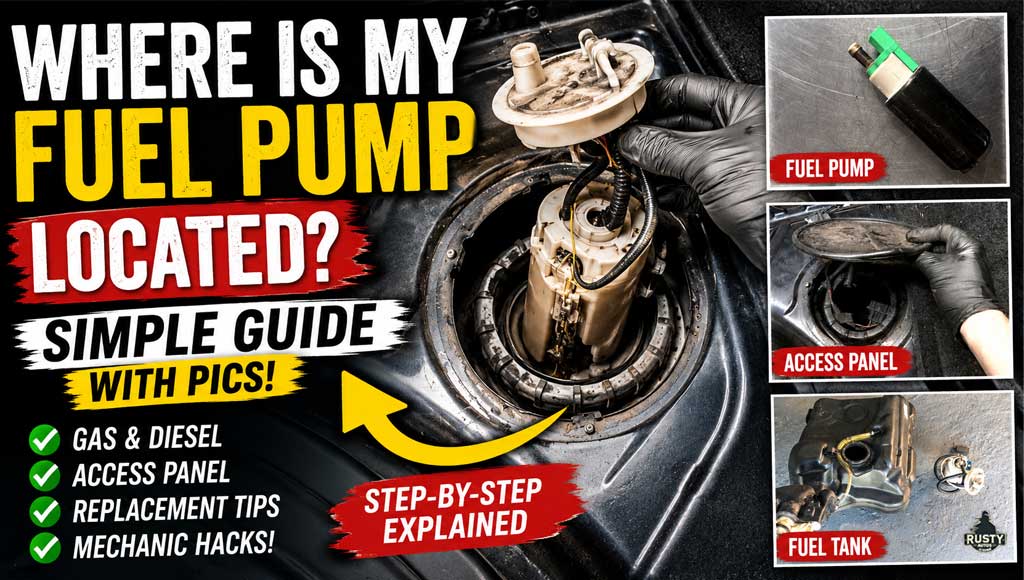
Faulty fuel pumps are all too common, but to be fair to the little guys, they work very hard and often under difficult conditions. Fitting a new pump isn’t that difficult for most models, but finding them, however, can almost be a bigger challenge.
Modern gas engines will have a fuel pump located inside the gas tank. To replace the fuel pump, an access port is usually fitted on the trunk floor or under the rear seat. Diesel-fueled engines will likely have two fuel pumps: a lift pump inside the fuel tank and a high-pressure pump at the engine.
In this post, you’ll understand where your fuel pump is fitted and how to access it. You’ll also learn some secret insider mechanic hacks for fitting, sssshhh!
Symptoms Of A Bad Fuel Pump
Before grabbing the tools, it’s worth making sure the fuel pump is actually the problem.
A failing fuel pump can cause a surprising range of symptoms. In the early stages, the pump may work intermittently before eventually failing altogether.
Common symptoms include:
- Engine cranks but won’t start
- Extended cranking before starting
- Sudden loss of power while driving
- Engine surging at highway speeds
- Poor acceleration
- Random stalling
- Whining or humming noise from the fuel tank
- Poor fuel economy
- Check Engine Light illuminated
As a mechanic, I’ve attended plenty of breakdowns where the owner was convinced the fuel pump had failed, only to discover the real culprit was a blown fuse, faulty relay, or damaged wiring.
For that reason, it’s always worth carrying out a few basic checks before replacing the pump.
Before Replacing The Fuel Pump
Fuel pumps do fail, but they’re not always the cause of a no-start condition.
Before ordering a replacement pump, check the following:
- Fuel pump fuse
- Fuel pump relay
- Battery voltage
- Fuel pump wiring connector
- Ground connections
- Fuel pressure (where possible)
A quick check with a test light or multimeter can often save hours of unnecessary work and hundreds of dollars in parts.
Quick Fuel Pump Listening Test
Turn the ignition key to the ON position without starting the engine.
Listen carefully near the fuel tank or under the rear seat area.
A healthy fuel pump will usually produce a brief, two- to three-second humming sound as it primes the fuel system.
No sound doesn’t automatically mean the pump has failed, but it’s a useful clue during diagnosis.


Is It Safe To Work On Gas Tank?
Gas tanks are located under your vehicle, and you may need to crawl under it. Good-quality hydraulic jacks and axle stands are needed. Never trust a jack; always use axle stands to support the vehicle’s weight.
I’ve been a mechanic for 20+ years; I won’t take a chance, and you shouldn’t either. If you intend to open the gas tank, use caution. Gas is highly flammable, striking tools, wearing polyester clothing, or a hand lamp is enough to ignite the fuel. Don’t be fooled by an empty tank; it’s equally dangerous as it’s filled with highly combustible vapours.
Use a quality LED lamp, wear cotton clothing, and don’t strike tools together. Check out my favourite tools on the Mechanics tools page.


Locating The Gas Pump
Most gasoline-powered vehicles built since the mid-1990s use an electric fuel pump mounted inside the fuel tank. The gas tank is located under the car. Many vehicles have an access port on the car’s floor, usually in the trunk or under the rear seat floor.
However, many modern direct-injection engines actually use two fuel pumps. The in-tank electric pump supplies fuel to a second high-pressure mechanical pump mounted on the engine. The engine-mounted pump then generates the extremely high fuel pressures required by modern direct-injection systems.
To remove the access port cover, remove its fasteners (usually three or four rough-thread screws). In addition, the cover is likely fitted with a flexible seal to prevent water and fumes from entering the cabin.
It’s worth noting that, on some rear-wheel-drive vehicles, the gas tank may straddle the prop shaft hump. In such setups, twin gas pumps and sender units (fuel gauge sensors) may be fitted. The second pump is used to balance the fuel between the two halves of the gas tank.
Now you have access to the fuel pump housing, but before you can access the gas pump, you’ll need to remove the gas lines and the electrical connector. I cover that process below, “Removing The Gas Lines”.
How To Remove A Gas Tank?
It should be noted that not all vehicles will have an access port. If your vehicle doesn’t have one fitted, you’ll need to remove the gas tank from the car. Removing the gas tank is a pain in the jacksie, especially if it’s full and you don’t have access to a vehicle hoist. In addition, if your vehicle has a few winters under its belt, the tank fasteners can be a touch rusty.
Your tank will likely be fastened to the vehicle chassis using metal straps that crisscross the tank. The straps are usually bolted to the chassis at one or both ends.
You’ll need to support the gas tank with a jack and a flat plank of wood (to help spread the weight) before unzipping the bolts. Gas tanks are made of plastic and are robust, but rough play can still rupture them. A damaged gas tank can’t be repaired; you’ll need to replace it.
The top tip here is to apply plenty of penetrating oil in advance (24 hrs. +) of attempting to remove the strap bolts. Breaking the bolts can ruin your day. Grinding and naked flame can’t be used to aid removal for obvious reasons.
With the straps released, lower the jack just enough to reach in. Two fuel lines and an electrical connector will need to be released.
Important Fuel Pressure Safety Warning
Before disconnecting any fuel lines, remember that modern fuel systems remain pressurised even after the engine has been switched off.
Opening a pressurised fuel line can spray fuel over the engine bay and create a serious fire risk.
Always follow the manufacturer’s recommended procedure for relieving fuel pressure before disconnecting any fuel system components.
Wear safety glasses and keep a fire extinguisher nearby whenever working on the fuel system.
Removing The Gas Lines
Vehicles more than twenty years old may require a screwdriver to release the fuel lines. More recent vehicles will be fitted with toolless gas line connectors. To unhook the gas lines, push the connector towards its fitting, pinch the tabs and pull firmly. You’ll need a rag; residue fuel will flow from the line.
Repeat for the second line, don’t worry, you can’t mix them up; the lines are different sizes. We’re not done yet, your fuel pump and sender unit electrical connector needs to be removed. It’s a toolless removal; pinch the tab and pull.
Note: depending on your vehicle tank design, you may need to remove EVAP pipework.
How To Remove The Fuel Pump Housing

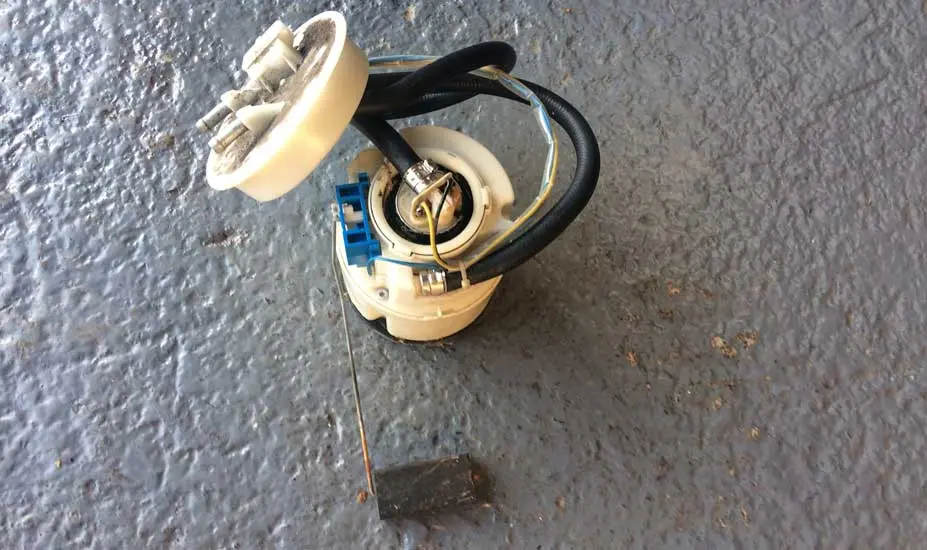
Whether the gas tank is in the vehicle or on the ground, extracting the pump housing from the gas tank is the same procedure. You’ll first need to remove all the dust and crap from the top of the unit. Compressed air works great, or use a clean paintbrush. Allowing grit to drop into the tank risks damaging the new fuel pump.
The fuel pump housing houses the fuel pump, obviously, but also a unit known as the sender unit. The pump housing unit is held firmly in place by the locking ring. There is a special tool for removing the ring, but a large flat screwdriver and a rubber mallet are perfect for unscrewing the locking ring.
Tip: It’s worth counting the number of turns to release the ring; this is helpful info later when refitting.
Some are threaded, and others simply lock on tabs; all unlock in a conventional way. Anti-clockwise to loosen. With the ring removed, the housing is free. The sender unit is connected to the fuel pump housing and provides gas level information. It utilises a float on a dogleg rod, which rises and falls with the gas level.
As the rod is connected to the housing, it can’t be lifted straight up; the entire unit must be rotated 90 degrees when removed. You need a little patience here; removing can be a bit of a puzzle, but you’ll figure it out.
You may be tempted to bend the rod. Fight that temptation; bending the rod will cause incorrect fuel level readings.
How To Remove Fuel Pump From Housing

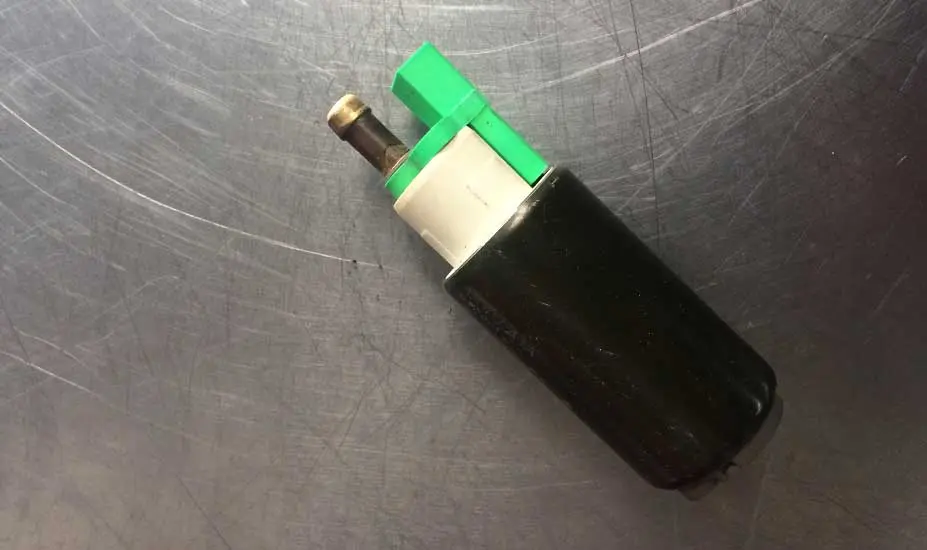
To remove the pump from the housing, first move to a workbench for comfort. The fuel pump is located in the centre of the housing, and the sender unit is usually tagged onto the side of the housing.
In some cases, the sender unit needs to be removed to allow access to the pump. A fuel line from the housing to the pump will need to be removed, as will electrical connections. Finally, we get to remove the pump, which may be clipped or fastened to the housing with screws. With the fasteners removed, the pump is now free.
Refitting Tips
- Before fitting the new pump, be sure to clean the pump gauze filter or replace it
- Clean the grit from the pump housing reservoir (bottom of housing)
- Be sure to fit the pump and sender unit wiring securely
- Lube the housing ring and locking ring threads helps prevent pinching and binding
- Tighten the locking ring clockwise using the screwdriver and mallet to the number of turns you counted earlier
- Check fuel lines for leaks
- Reseal access port using automotive sealer
Where Is My Diesel Lift Pump Located


The diesel lift pump is located in the fuel tank, and its removal is identical to that of a gas fuel pump setup.
Diesel is less volatile than gasoline, but the same safety precautions should always be followed when working on the fuel system.
Where Is My Diesel High-Pressure Pump Located
The high-pressure diesel pump does all the heavy lifting, any problem with the pump and you’ll quickly know about it. The high-pressure pump is mechanically driven, and most are integral to the timing gear.

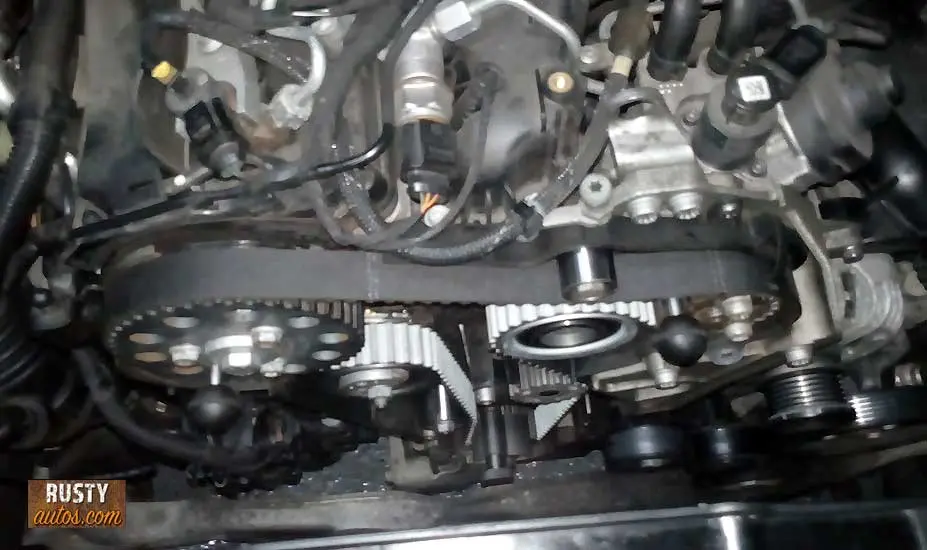
Most smaller automotive diesel engines are belt-driven, and larger diesel engines tend to be chain-driven with a timing gear. Replacing the pump requires removing the timing gear and is, therefore, best left to a skilled mechanic. Setting the timing incorrectly will likely cause the engine internals to collide, Ouch! That’s expensive.
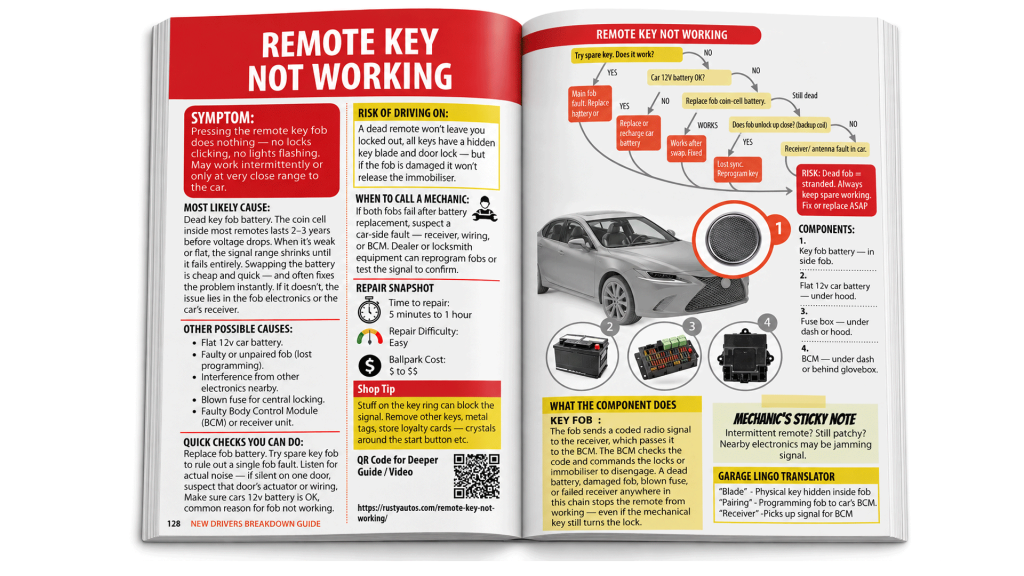
YOUR CAR JUST SAID “UH-OH.”

Warning light? Won’t start? Weird noise?
Something smells expensive?
DON’T PANIC. KNOW WHAT TO DO NEXT.
The New Driver’s Breakdown Guide gives you the car know-how nobody taught you.
- About the Author
- Latest Posts


John Cunningham is an Automotive Technician and writer on Rustyautos.com. He’s been a mechanic for over twenty-five years and has worked for GM, Volvo, Volkswagen, Land Rover, and Jaguar dealerships.
John uses his know-how and experience to write articles that help fellow gearheads with all aspects of vehicle ownership, including maintenance, repair, and troubleshooting.