
Brake jobs aren’t so bad, but when you get a piston that just won’t move a simple job can turn into a nightmare. Don’t panic, I’m a mechanic for over twenty years, and very shortly you’ll be nailing this brake job like a pro!
To depress a rear caliper, first ensure the parking brake is placed in service mode, then use a brake caliper wind back tool to twist and push the rear caliper piston simultaneously.
In this post, I’ll show you everything you need to know to get that piston moving.
Rear Calipers
Rear brake calipers are different from front calipers, in most cases, the back calipers perform two functions. They break the rear wheel but also incorporate the emergency brake (parking brake) mechanism.
The emergency brake, as you may know, is designed to be independent of the foot brake system.
In the unlikely event of foot brake failure, the emergency cable/electric motor-operated system is still online.
Emergency Brake


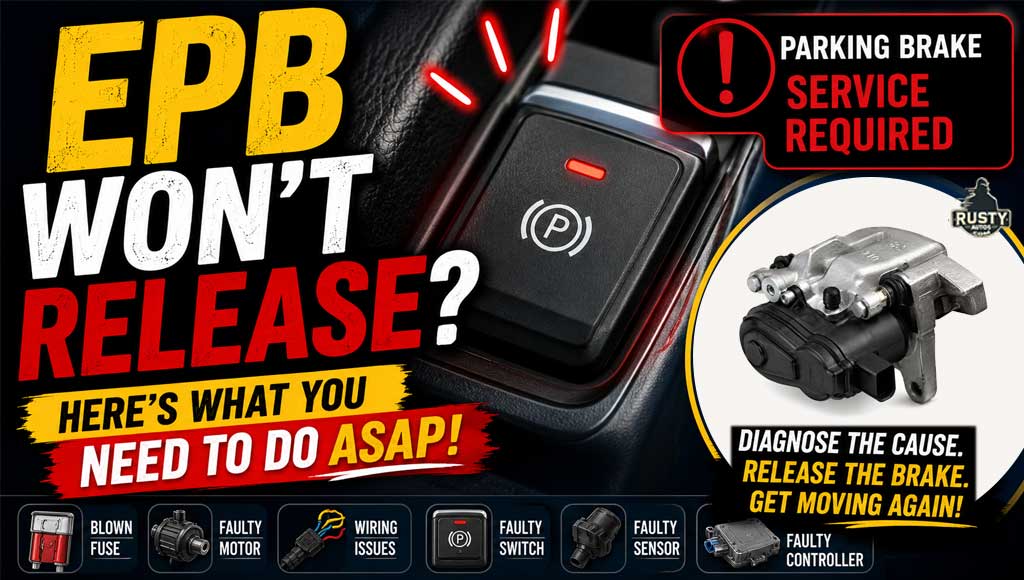
The emergency brake, also known as the E brake or parking brake. It’s either a standard manual cable-operated or an electric one. You can tell which one you have by how you apply the brake.
If your parking brake is operated by a push-button, you have an electronic parking brake (EPB). If it’s a manual lever or foot E-brake, you’ve guessed it: it’s a manual emergency brake.
All manual emergency parking brakes are cable-operated; electric parking brakes come in a couple of common flavours.
Both electric types include a dash-mounted push on/off button, controller, and either a motor at each rear caliper to apply the brake or a single motor attached to twin cables that attach to each rear caliper e brake lever.
Working on electronic parking brake (EPB) equipped vehicles will require placing the EPB controller in service mode. Some cars will allow an override by holding the EPB button for a certain amount of time. (Google your model)
Most vehicles will, however, require a handheld scan-type tool to set the EPB module to service mode. The rear pistons will not depress while the EPB is in active mode.
Check out the mechanics tools page for recommended handheld scan, diagnostic and brake bi directional tools.

Working on a manual parking brake simply requires setting it to the off position.
Brake Wind Back Tool


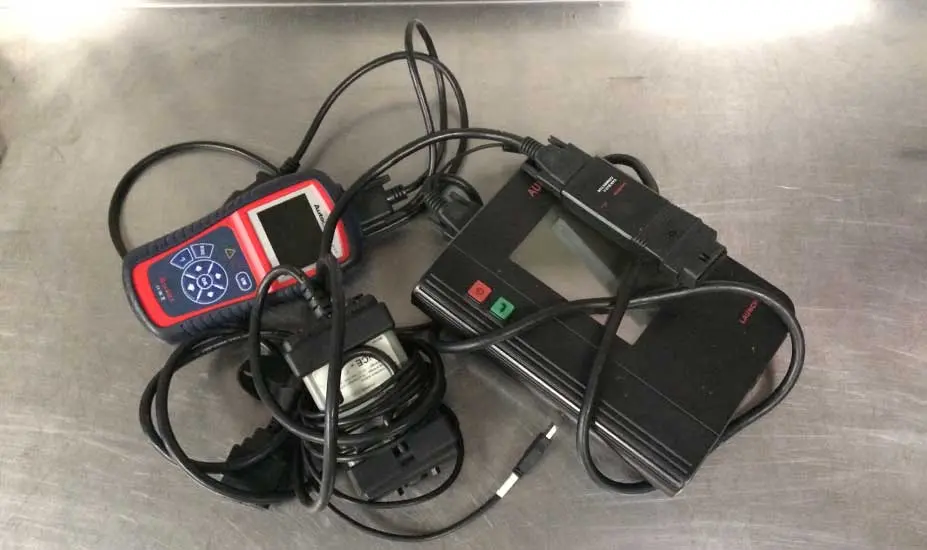
As you now know, rear caliper pistons won’t simply push back into the caliper in the same way the fronts do. The rear will need to be twisted and pushed simultaneously. Difficult to do without the wind back tool, but it’s not impossible.
You’ll notice rear caliper pistons sport recesses to receive the wind back tool dogs. A MacGyver type could use pointy-nose pliers to twist the piston while using channel locks to depress it. Awkward, but will work.

The wind back tool, however, isn’t expensive and makes this whole process effortless. If you want to go the pro route, there’s an air-operated kit that most shops use. You can check out the wind back tool here on the brake tools page, and if you need brake system parts, check out the Amazon link below.
Rear Caliper Piston Turning the Wrong Direction
Many rear calipers only retract when turned in a specific direction.
Which Way Does the Rear Caliper Piston Turn?
Most rear caliper pistons retract by turning clockwise while applying pressure, but some manufacturers use a counter-clockwise design.
If the piston feels unusually tight, stop and confirm the correct direction for your vehicle before applying more force. Forcing the piston the wrong way can damage the parking brake mechanism inside the caliper.
A repair manual or a quick search for your vehicle model will confirm the correct rotation direction.
Amazon Car BrakesBrake Fluid Reservoir Full
This catches a lot of DIYers out.
Check the Brake Fluid Reservoir
Before winding the piston back, check the brake fluid reservoir under the hood.
As brake pads wear, the brake fluid level in the reservoir naturally rises. When you push the caliper piston back, fluid returns to the master cylinder and can cause the reservoir to overflow.
If the reservoir is already close to the MAX mark, remove a small amount of fluid before retracting the piston.
Brake fluid damages paint, so immediately clean any spills with water.
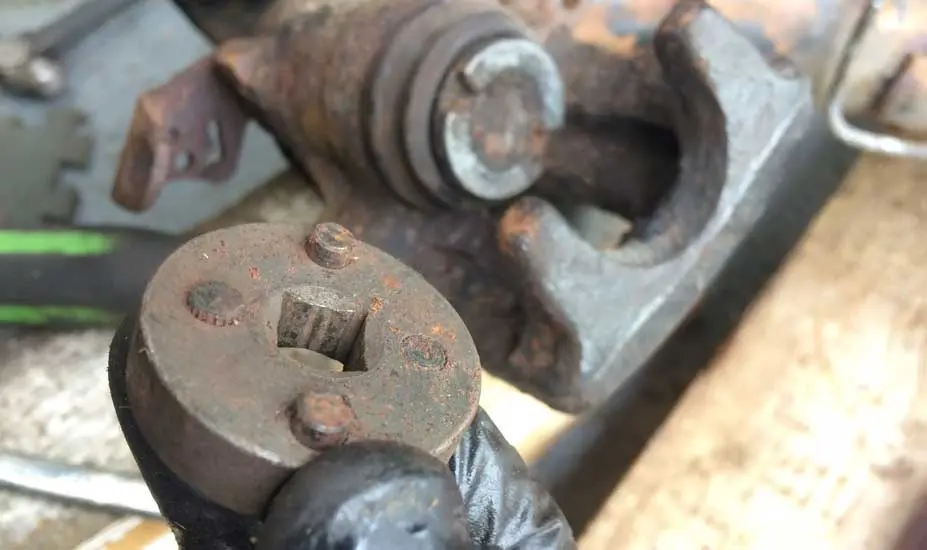
Seized Brake Caliper
If you have tried to wind back the piston, your e-brake is off, and the piston still won’t move. It is possible the piston is seized. A seized caliper piston isn’t, however, very likely on both rear wheels, but a single seizing piston is common.

A common cause of a seized rear caliper is a badly corroded rear piston. Brake fluid is hygroscopic; it attracts moisture. Moisture in the brake system causes two serious problems: brake system corrosion and brake pedal fade.
It is recommended to change brake fluid every three to four years to prevent brake system failure.
When a caliper piston won’t move and the E-brake has been eliminated as a possible issue, two remaining causes are possible. Either the piston is seized, or there’s a restriction in the rubber flexi brake hose.
The following test will reveal where the problem lies.
Torn Piston Boot
Inspect the Caliper Dust Boot
While examining the piston, inspect the rubber dust boot surrounding it.
A torn or missing dust boot allows water and road salt to reach the piston surface. Corrosion develops quickly and often leads to a seized caliper.
If the boot is damaged and the piston shows rust, replacing the caliper is usually the most reliable repair.
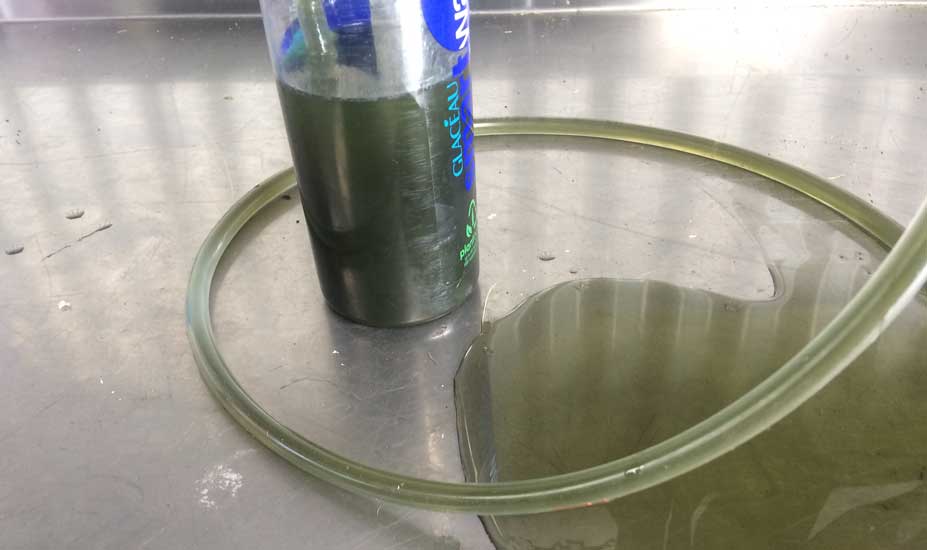
Faulty Brake Line
Note: when performing the following test, the hydraulic brake line system will be open. Opening any brake line requires purging air from the system; this is known as bleeding the brakes. You can find a complete post about it here: “Bleed all brakes”.


To test for a brake hose issue, open the air bleed nipple and twist and push the piston as before. If the piston now moves and fluid squirts from the bleed nipple, your brake hose is faulty and needs to be replaced.
New Brake Pad Bedding
Bed In the New Brake Pads
Once the repair is complete, avoid hard braking for the first 100–200 miles.
New pads and rotors need time to bed together. Gentle repeated braking helps transfer an even layer of friction material to the rotor surface and improves braking performance.
Heavy braking immediately after installation can cause noise, vibration, or uneven pad wear.
If your piston still won’t move and no fluid squirts from the bleed nipple, your caliper piston is seized and will need to be replaced. Repair kits are not available and caliper repair shouldn’t be attempted.
You may find the brake resources page useful, it’s a fluff-free guide to DIY brake repairs.
Would You Know What To Do?
If your engine warning light came on tonight, would you know to keep driving, pull over, or call for recovery?
Most drivers wouldn’t.
That’s exactly why I wrote this guide.

- About the Author
- Latest Posts


John Cunningham is an Automotive Technician and writer on Rustyautos.com. He’s been a mechanic for over twenty-five years and has worked for GM, Volvo, Volkswagen, Land Rover, and Jaguar dealerships.
John uses his know-how and experience to write articles that help fellow gearheads with all aspects of vehicle ownership, including maintenance, repair, and troubleshooting.