
I’ve been working on cars since I was a kid; back then, we’d time the changeover just for fun. But cars were a ton easier to work on twenty years ago.
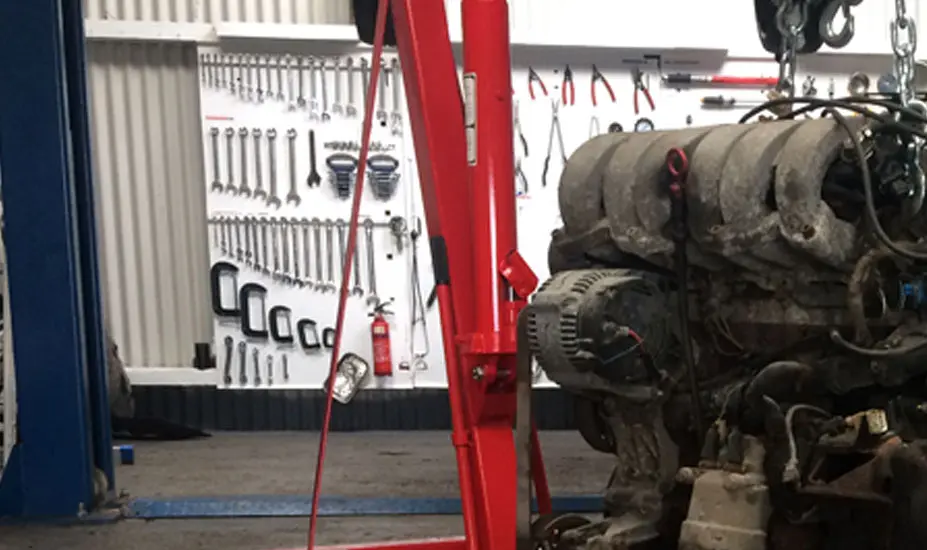
Replacing a car engine is not difficult, and it shouldn’t take a mechanic more than one day to change the engine on a family-size sedan. However, a few proper mechanics tools and equipment will make the job less difficult. Tools and equipment, such as:
- Car hoist
- Engine hoist
- Impact wrench
- Axle stands
- Transmission jack
In this post, you’ll get a feel for how difficult it is to change a car engine, you’ll also learn the engine setups that are the most difficult, and I’ll share my tips for a successful swap.
Engine Suitability

Replacing an engine is a major chore and taking it out a second isn’t fun. It’s worth taking some time now to be sure the engine is suitable. Your replacement engine may look identical and come out of an identical car, but it may have a different engine power output, and that can cause problems.
If your car was made in the last twenty years, it would have an engine management control system – a computer-controlled engine.
In many ways, that’s great; no need to fiddle around carburetors or timing. Computer-controlled engines are, however, very precisely calibrated to the engine. Fuelling and engine loads are installed in your car’s software at the factory to match the exact engine power output.
If the replacement engine has a larger or smaller cubic capacity, higher or lowers cam lobe, larger or smaller valves, variable valve timing, etc., the engine swap won’t be a success.

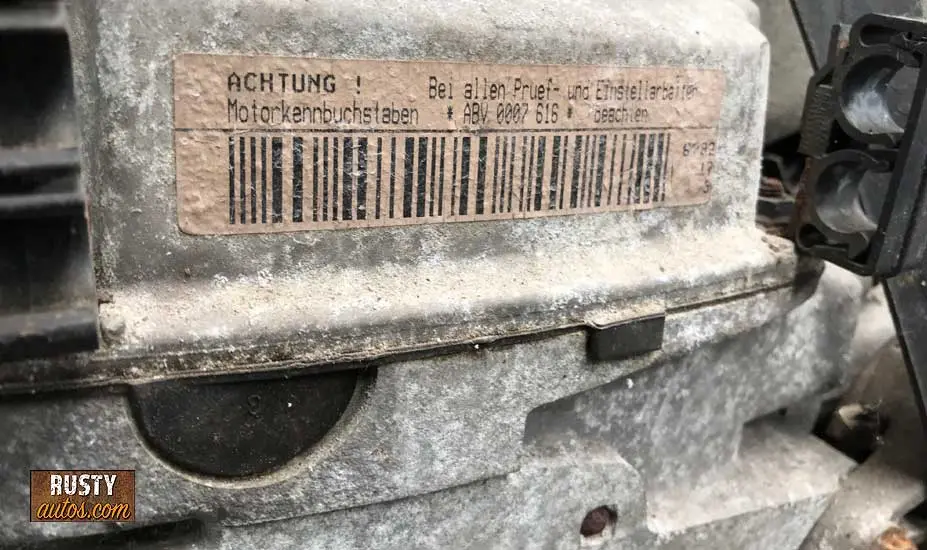
As said, engines may look identical but could have a different spec cylinder head. Each engine family is coded to identify the exact specification. For instance, VW runs various spec engines that, to the eye, look the same.
Checking the engine code against your old engine is the only way to ensure the engine is a suitable replacement motor.
How Difficult Is Changing The Engine?
A few factors will dictate how difficult this job is going to be.
- Engine size
- Vehicle age & condition
- Engine layout
- Tools and equipment available
- Your knowledge and skill level
- The condition of the replacement motor
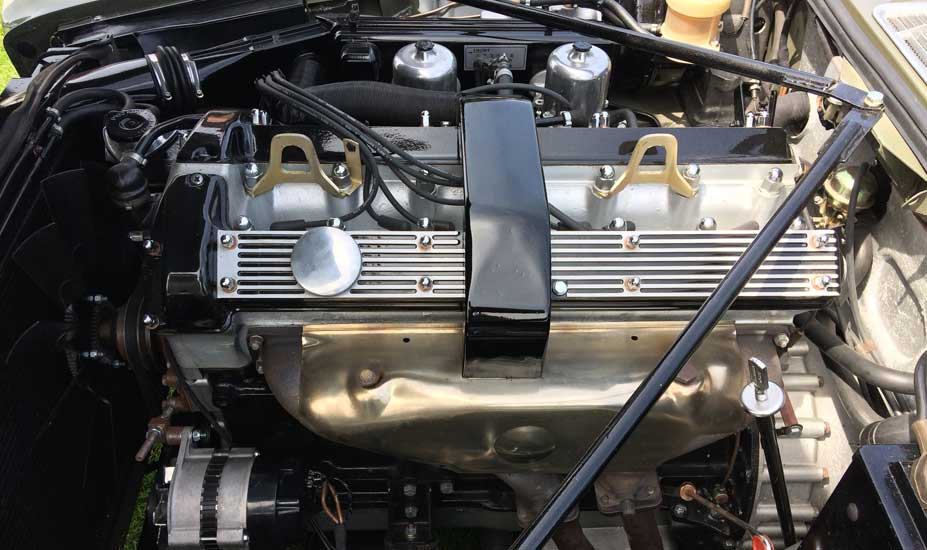
Engine size:

As a general rule, the bigger the engine, the more difficult it will be to swap out. Not just because they are heavier but because they are usually a tight fit in the engine bay. That usually means lots of effort and skint knuckles before you can set her free.
Vehicle age:

Corroded fasteners on older vehicles can be a real challenge. Rusty fasteners can break, strip, round, or just freeze solid. This kind of work can be soul-destroying, especially if you’ve got a string of them to deal with.
The fun doesn’t end there, replacement fasteners need to be sought, and often threads re-tapped. Cars from salt states (salted roads) will be notoriously difficult to work on; budget another day for bolt extraction and sourcing replacements.
Engine layout:
If your car is a front-wheel drive, the engine will likely be fitted widthways (Transversely). Front-engine rear-wheel-drive cars (Longitudinal) will have engine-fitted lengthways.

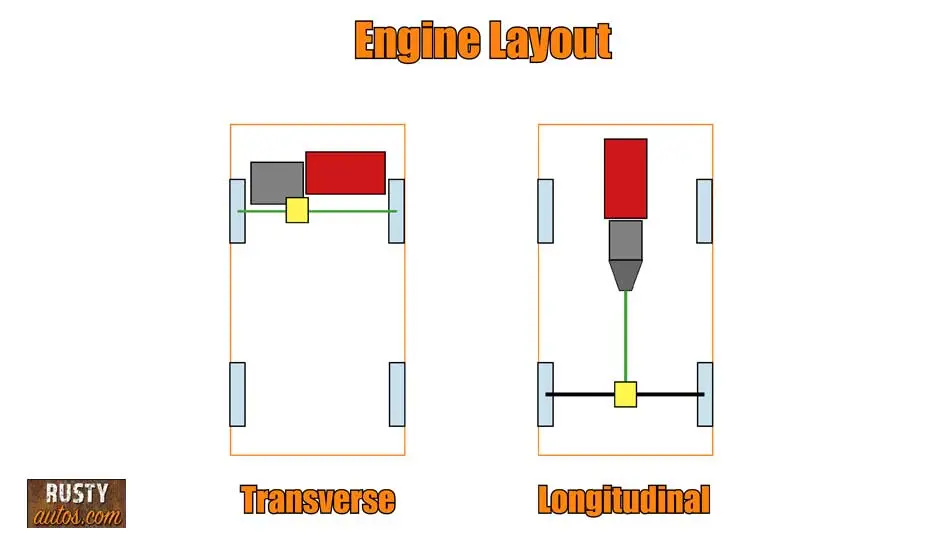
Replacing the engine on a rear-wheel-drive car is usually a lot less work. The transmission and driveshaft will usually stay in place saving a significant amount of work.
Conversely, replacing an engine on a front-wheel-drive car tends to be the most work. It may be possible to leave the transmission in place on some small engine front-drive cars, but for most, it needs to be removed along with lots of other components.
A transverse engine layout means the transmission is also the front axle- (Trans-axle); it will need to be removed. In addition, the engine and trans-axle on later models are fitted to a subframe which also needs to be removed.
Instead of removing these components from the subframe, it’s more economical to support the sub-frame on axle stands, unbolt the fully built sub-frame, and lift the car off the sub-frame.

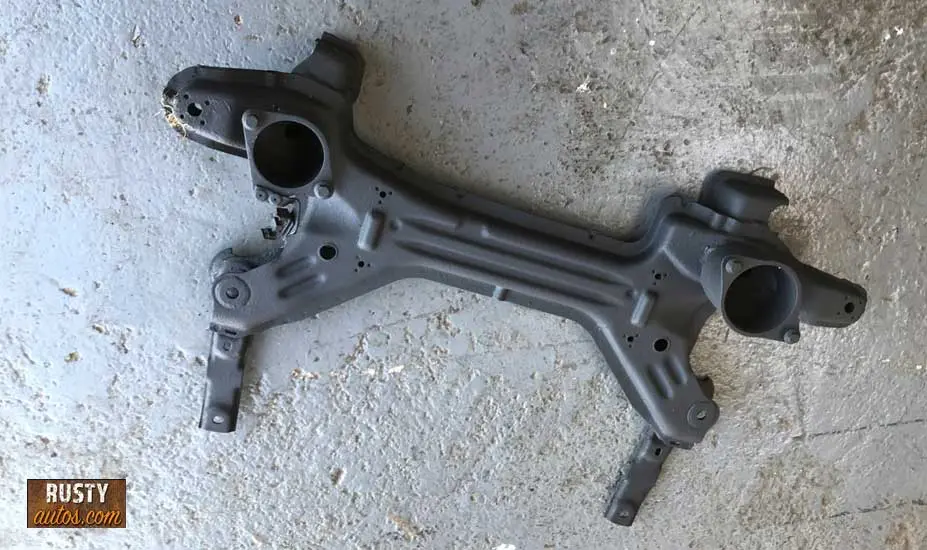
In the factory, all components are fitted to the sub-frame before being bolted to the chassis. Sub-frame components include:
- Engine
- Transmission
- Motor mounts
- Suspension
- Wheel knuckles
- Brakes
- Steering rack
- Anti-roll bar
- Half shafts
As you can imagine, this is a lot of work and will require a workshop hoist.
Tools & Equipment
Good tools are going to help the job move like butter. Bad tools or simply the wrong tools will fight you every step of the way.
Car hoist:

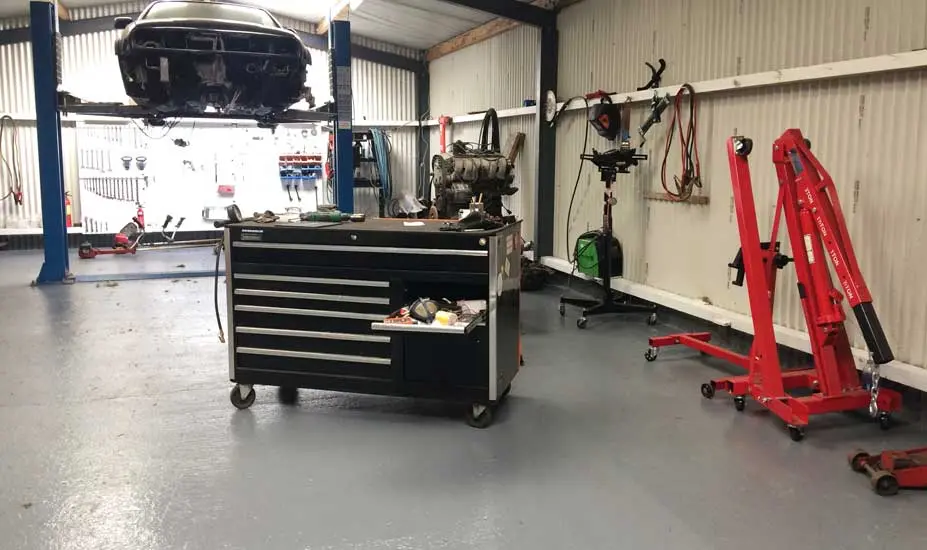
A garage hoist is a must if your vehicle is a front-drive motor. Changing this motor from the ground isn’t practical.
A rear-drive motor is usually possible to accomplish without a workshop hoist, but crawling under the car repeatedly is both dangerous and extremely tough work.
Axle stands:
You’ll need four axle stands to help support the car and other components as you release fixing bolts.
Impact wrench:

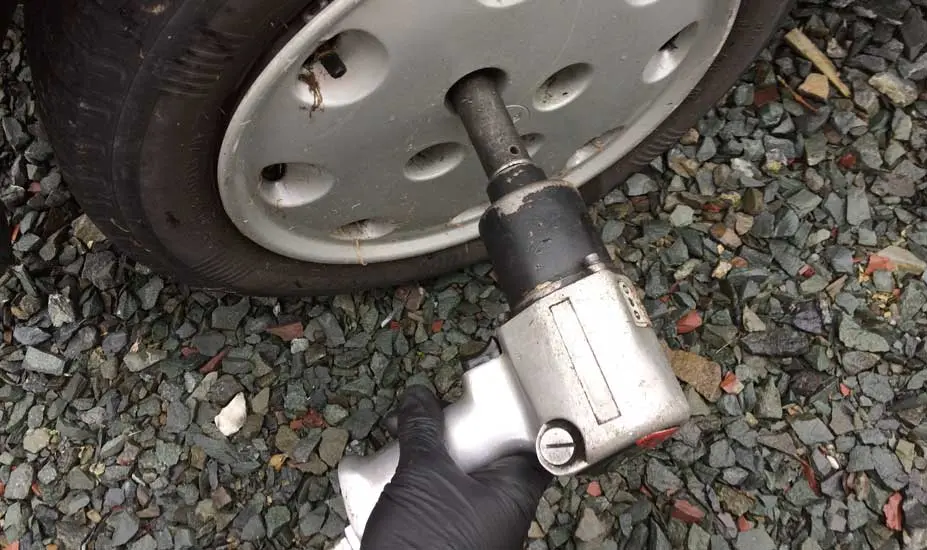
This, for most mechanics, is a basic human right; breaking loose frozen bolts and releasing stiff nuts and bolts by hand is hard labor. The impact makes it look easy and saves a ton of time.
Engine hoist:

The engine hoist will be needed for both front and rear drive engines. The hoist will be used to lift the engine free from the transmission and sub-frame.
Transmission jack:
The tranny jack is useful for supporting the transmission at engine removal and aligning the engine and tranny on installation.
Torque wrench:

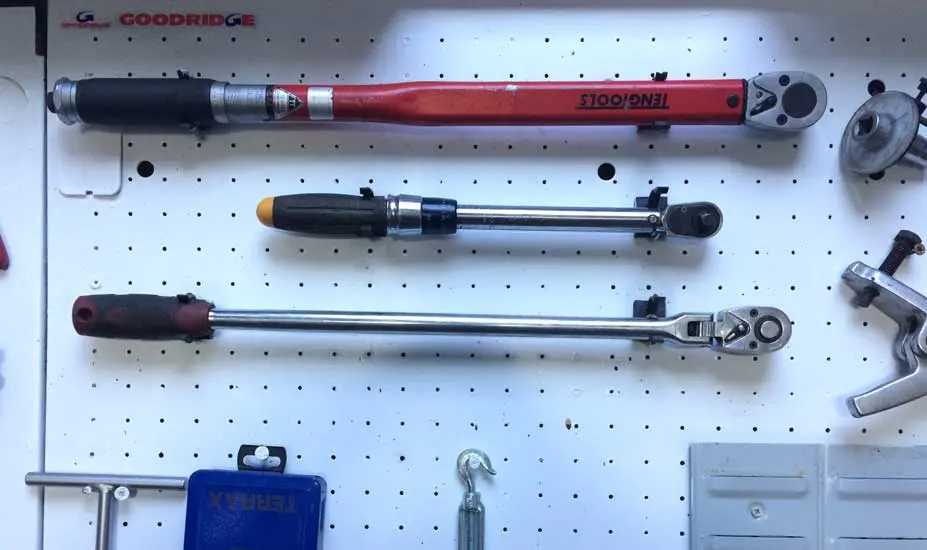
While not essential, it is best to torque important bolts such as sub-frame bolts, steering racks, drive bolts, wheels, etc.
Other tools:
A selection of other tools such as impact screwdrivers, breaker bars, cheater bars, hammers, sockets, wrenches, and screwdriver sets good hand light.
Your Skill & Knowledge
Your experience with the job at hand will obviously play a huge part in how the job moves along. If you haven’t attempted this type of job before, that’s OK. You can do it, but you likely won’t complete it on the same day.
In fact, it’s better you don’t. If this is your first time, take your time, and research your vehicle carefully before beginning.
It is possible to cause damage to other components due to inexperience, but I’ll cover the rookie mistakes to avoid them below.
Replacement Engine Condition

If your replacement engine is a used unit, it will need a service after installation; that’s a given. Other things you may not have thought of include:
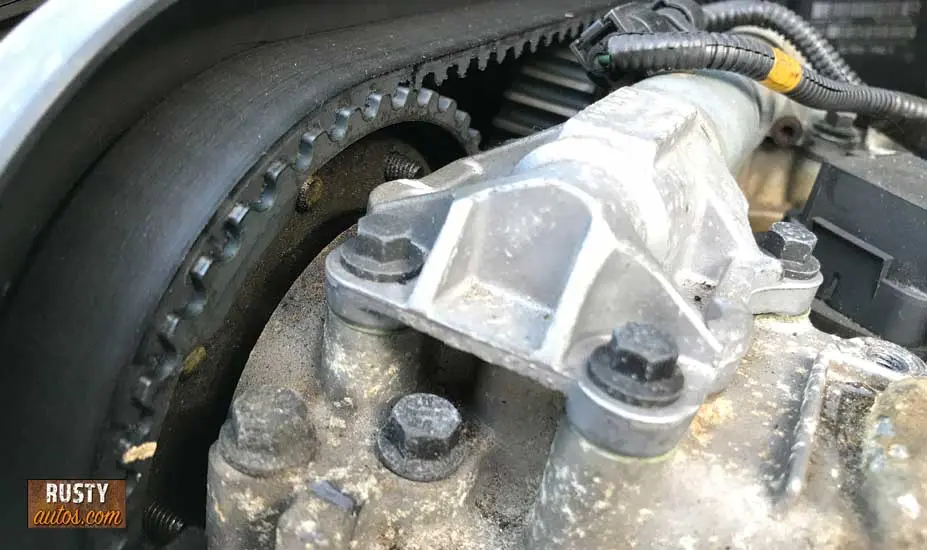
- New timing belt
- Water-pump
- Tensioner
- Thermostat
- Aux belt
All of these components will be a ton easier to fit while the engine is on the ground. Your engine may be supplied bare, and if that’s the case, you’ll need to strip your own engine and rebuild.
New gaskets will need to be replaced, and fitting will be easier while sitting on the ground.
Potential Problems To Avoid

You already know you need to be super careful about the engine code; it must match your old motor. Research your particular model before commencing, and pay attention to any special tool or procedures required.
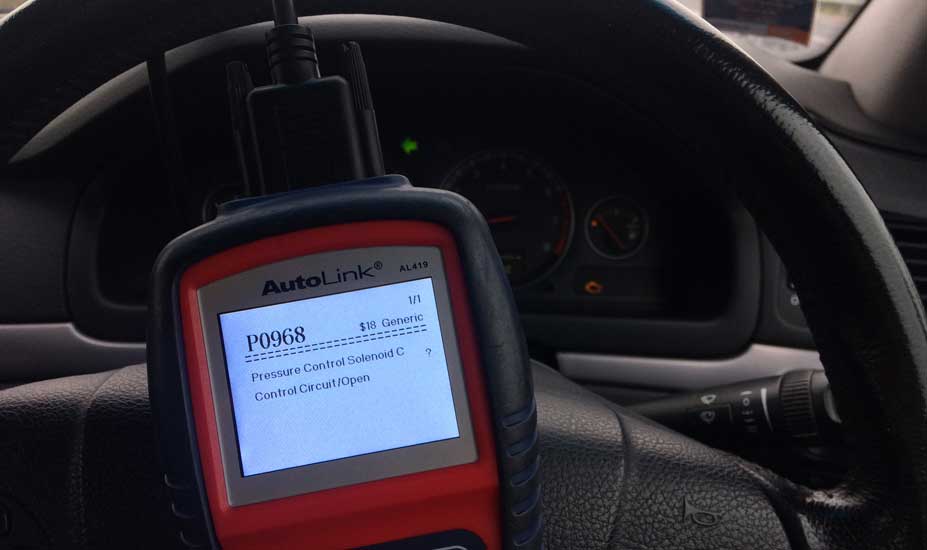
- Using a scan tool, note and clear all fault codes before the old engine is removed.
- Lower the drivers window before removing the battery from the car.
- If your engine is turbo charged, check and clean the ducting and inter-cooler (if fitted) for debris.
- For auto transmissions, remove the starter and unbolt the Torque Converter (TC) from the flex plate. If fail to unbolt the TC you run a risk of damaging the TC seal.
- Before starting the new engine replace the oil and filter and fill with fresh coolant.
- After installation, be sure to bleed the coolant system thoroughly, air locked system can cause overheating which can cause bigger problems.
- After starting the new engine, scan for trouble codes and fix any live error codes.
Re-calibrate
After installation, begin with a short test drive, checking for mechanical noises and keeping an eye on the coolant temperature. After the test drive, allow the engine to idle and check for oil and coolant leaks. Allow the engine to idle until the cooling fan turns on while monitoring the dash coolant temperature gauge.

It’s not unusual for a replacement engine to hunt or struggle to idle as a throttle body relearn procedure is usually necessary. The re-learn or re-calibrations is needed as the battery has been disconnected.
When a car battery is disconnected, capacitors inside various control modules (computers) are discharged, and the learned data is lost. The data simply needs to be relearned.
Other components that may need a re-learn include:
- Steering angle sensor
- Electric steering
- Accelerator pedal
- Electric windows
- HVAC
- Electric seat memory
- Radio presets
- Time clock
Typical re-learn or calibration procedures are as follows:
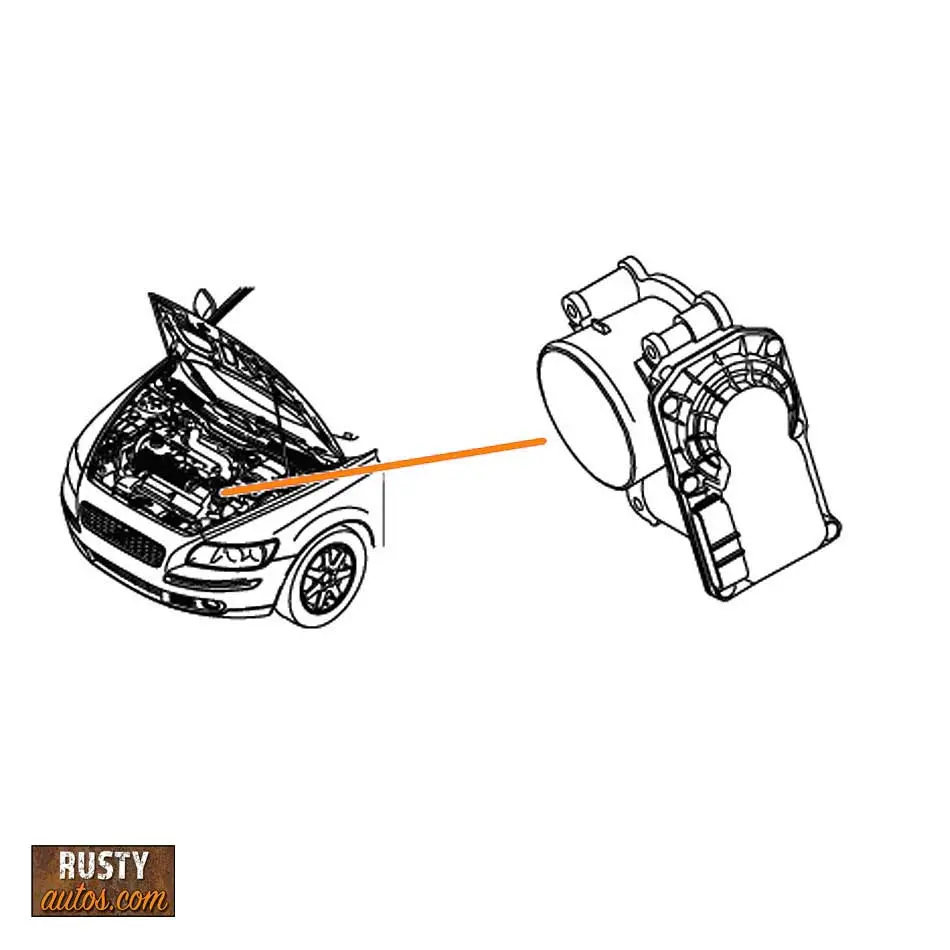
A typical throttle relearn procedure:
This is a GM throttle re-learn procedure, but it’s standard. Yours may differ slightly, however, so if this doesn’t work, run a google search of your model and you’ll have it figured out in jig time.
- Idle the engine until reaches operating temperature
- Turn engine off for at least one minute
- Idle the engine again for at least five minutes
- Drive the vehicle at a range of speeds using various acceleration/deceleration cycles (on and off throttle)
If engine fault codes are live, a relearn may not trigger unless all fault codes are cleared first.
Steering angle sensor calibration:
Locking the steering wheel from lock to lock will recalibrate the steering angle sensor and electric steering (if fitted).
Electric steering:
Locking the steering wheel full lock left and right and centering will re-calibrate the motor sensors.
Accelerator pedal:
Holding the throttle pedal fully down, half down, and finally quarter down, with the ignition on but the engine off.
Electric window calibration procedure:
Power each electric window fully down and hold the button down for two seconds, then power the window to the up position and hold the button up for two seconds. Repeat for all windows and sunroof if fitted.
HVAC:


Your HVAC system will likely have many stepper motors controlling various blend doors. The position of these doors is precisely monitored by the HVAC controller (computer); it uses this info to automatically direct air.
The controller must re-learn the position of all the doors; cycling through all the different air direction positions and holding them there for a couple of seconds will help the controller find their counts.
Electric seats:
Just like the electric window re-learn, all seat motors must be cycled to their end positions, and the button must be held for two seconds. The seat memory positions will likely need to be reset too.
Radio & clock:
This is a pretty simple procedure and is usually covered in detail in the driver’s manual.
Sum Up
Replacing a car engine is a complex and expensive process that requires specialized tools and expertise. While it is possible to do it oneself, it is generally best to leave this task to a professional mechanic.
- Replacing a car engine is a complex and time-consuming process requiring expertise and specialized tools.
- Steps include removing old engine, preparing new one, and installing it in the car.
- Cost ranges from $3,000 to $10,000+ depending on make, model, and location.
- Deciding between replacing engine or buying new car depends on cost and car’s age and condition.
- Might best to leave the task to a professional mechanic.
About the Author
John Cunningham is a Red Seal Qualified automotive technician with over twenty-five years of experience in the field. When he’s not writing about car repair, you’ll find him in his happy place – restoring classic cars.
Related Question
Is a new engine like a new car? A new engine does not guarantee trouble-free driving. The engine relies on many other components to function correctly. While the engine may be new, the other components aren’t, wear and tear will cause all components to fail, eventually.
- About the Author
- Latest Posts


John Cunningham is an Automotive Technician and writer on Rustyautos.com. He’s been a mechanic for over twenty-five years and has worked for GM, Volvo, Volkswagen, Land Rover, and Jaguar dealerships.
John uses his know-how and experience to write articles that help fellow gearheads with all aspects of vehicle ownership, including maintenance, repair, and troubleshooting.